...
The first section of the page gives you a complete list of the themes currently available on your installation of PrestaShop. Their 'edit' section lets you change their name and directory (if any another directory is available), as well as many other options:.

The list's "Add new" button (and the page "Add new theme" button) gives you access to a form that helps you register a theme on your installation. This is very useful when you need to create a new theme.
Among the many Yes/No options in the Cette "Add new theme" page , there are has a few fields to which you should especially pay attention:

- Name of the theme. Make sure the name is not already used by another theme (check on the Addons website).
- Preview image for the theme. You should always add a preview image, as it is a clear reminder of what the theme looks like.
- Directory. If you have not already created a theme folder, PrestaShop will create one for you.
- Copy missing files from existing theme. This is the cleanest method to start a new theme from another theme's files. It is highly recommended, when you begin, to create a new theme from the default theme's files, as this makes sure you have all the needed files.
...
This screen presents you with 3 methods to install a new theme: from your computer, from a public website, or from your own FTP server.

Whatever the method, the process remains the same: indicate the location of the theme's Zip archive, then click "Save".
...
This section is only available when there is at least one theme installed on your PrestaShop site. It gives you a method to export your module in a correct format.
Exporting a theme is very useful when you want either to back the theme up for safety, and create an archive of the theme for a friend or in order to make it available on the Addons marketplace (http://addons.prestashop.com/). Not only does it generate a complete Zip archive of your theme, but it also adds many information in an XML files, which is very useful both when uploading to Addons, and when important to another PrestaShop site.

Select a theme and click on "Export". A configuration form appears where you can set the exported themes parameters: author name, modules to export along, theme name, version compatibility, etc.
...
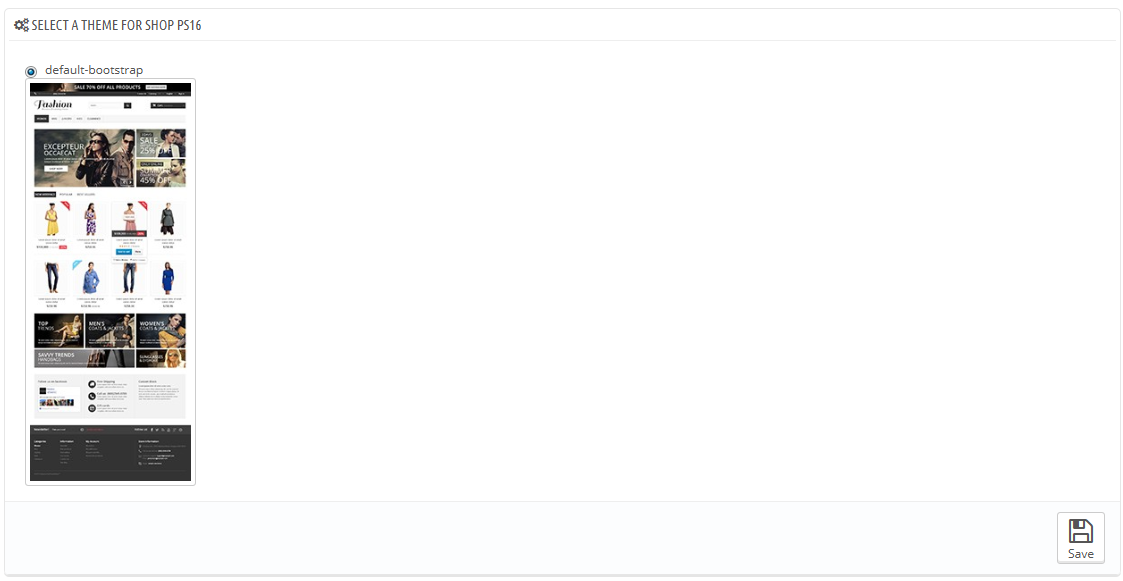
This is where you can change the theme for the current shop. The interface presents you with a list of thumbnails of the currently available themes on your PrestaShop installation, and it is up to you to choose the one theme you want to use for your shop.
| Note |
|---|
In multistore mode, you cannot apply a theme to all your stores or a group of stores; you must select a single store in the multistore menu, then pick a theme. |
...
This section helps you to quickly customize the current theme: header logo, mail logo, invoice logo, favicon, store icon and even the navigation pipe can be easily modified from there.

The "Enable the mobile theme" makes it possible for you to use the default mobile theme. With this theme, any PrestaShop merchant can have his or her shop be accessible to mobile devices: from the home page to the payment process, along with product pages and conversion funnel. You can choose the option you like best: mobile, touchpad, or both.
...